Outlook 2010
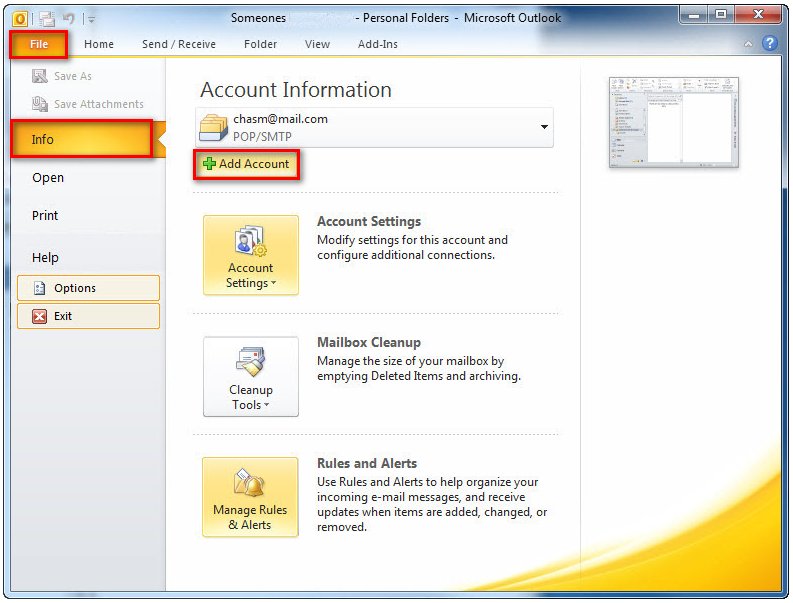
Estimated Reading Time: 1 Minutes1. Click on File and select Info, then Add Account.
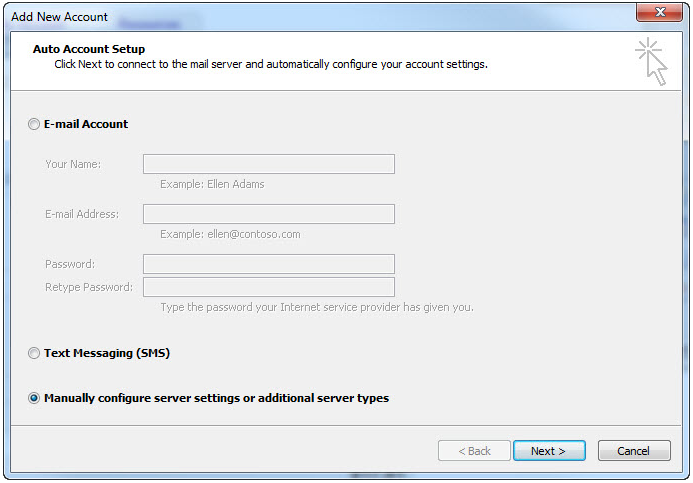
2. Select Manually configure server settings or additional server types and click Next.
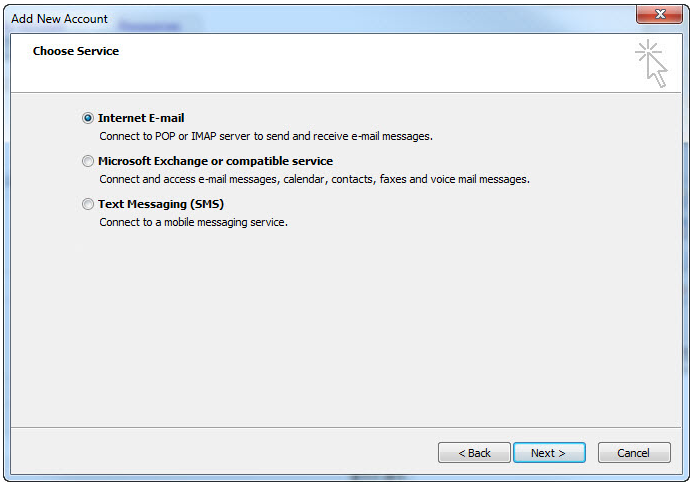
3. Select Internet E-mail and click Next.
4. Under Incoming email server type, select:
- IMAP (Recommended), or
- POP
Tip: We recommend using IMAP, especially if you access your email from multiple devices (such as a phone, tablet, or computer). IMAP keeps your emails synchronised across all your devices.
Enter the corresponding settings of the incoming email server type of your choice below.
| Setting | IMAP | POP |
| Incoming Mail Server | imap.spintel.net.au | pop3.spintel.net.au |
| Incoming Port | 993 (SSL/TLS) Alternative: 143 (STARTTLS/TLS if supported) |
995 (SSL/TLS) Alternative: 110 (Unencrypted - Not Recommended) |
| Outgoing Mail Server (SMTP) | smtp.spintel.net.au | smtp.spintel.net.au |
| Outgoing Port | 587 (STARTTLS/TLS) Alternative: 465 (SSL/TLS) |
587 (STARTTLS/TLS) Alternative: 465 (SSL/TLS) |
| Outgoing Server Authentication | Enabled | Enabled |
| Username | Your SpinTel email username (the part before @spin.net.au) | Your SpinTel email username (the part before @spin.net.au) |
| Password | Your SpinTel email password | Your SpinTel email password |
If you're changing an existing email account from POP to IMAP or from IMAP to POP, we recommend backing up any important emails before making the change. This helps prevent accidental data loss, as some email applications store emails differently depending on the account type.
5. Select Advanced, make sure that the Incoming server port matches the port of your preferred incoming server (please refer to the table above), and the Outgoing server port is 587, then click OK.
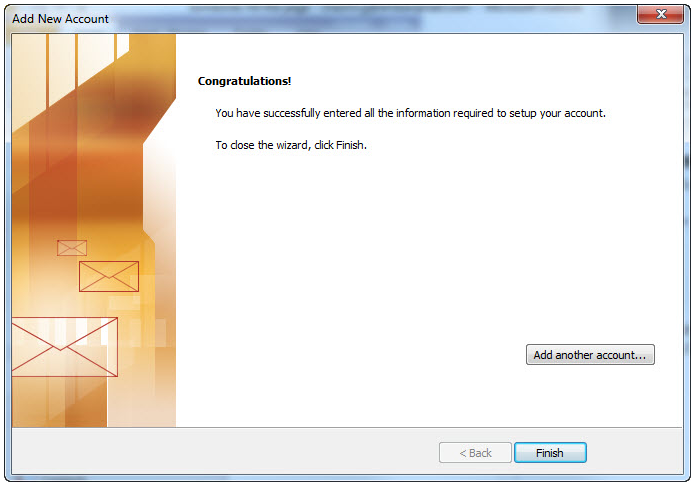
6. Click Next. The program will test the settings and should show as follows: