
Windows Mail Setup
Estimated Reading Time: 1 MinutesNote: Windows Mail is no longer supported by Microsoft, hence it is best to use the newer applications.
-
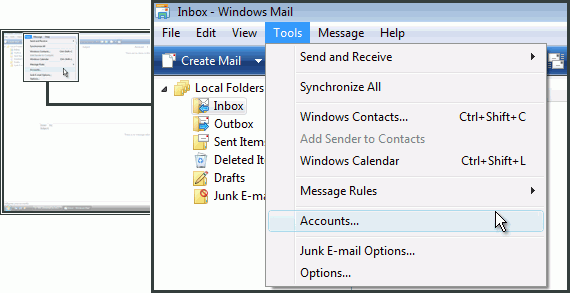
Open Windows Mail and select Tools, then click on Accounts.
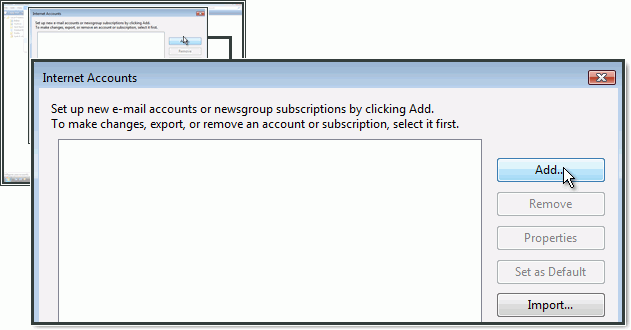
2. Click on Add.
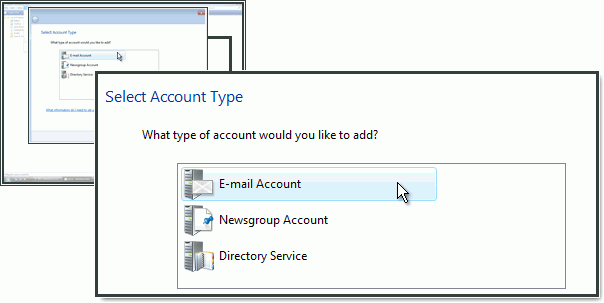
3. Choose E-mail Account and click on Next.
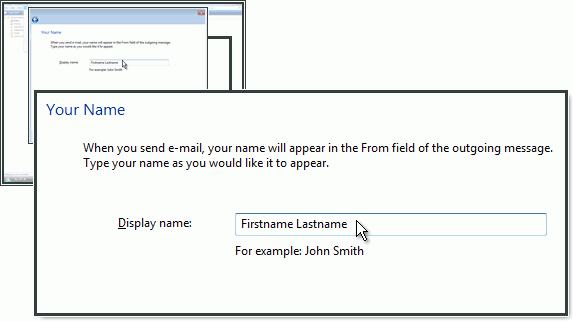
4. Enter your Display name and click on Next.
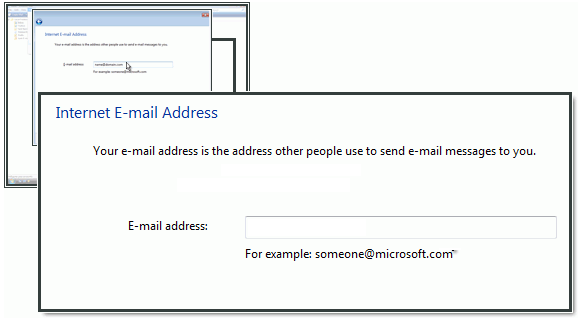
5. Enter your E-mail address and click on Next.
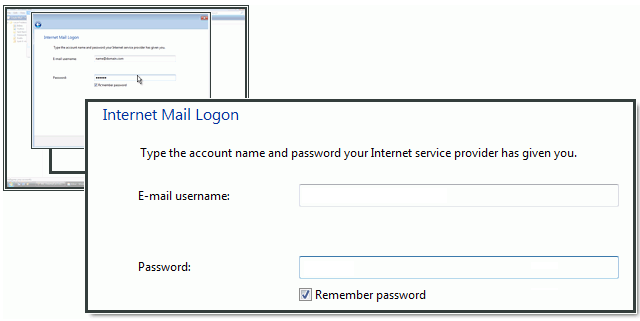
6. Select POP as the Incoming e-mail server type and enter pop3.spintel.net.au in Incoming mail server. For Outgoing mail server, enter smtp.spintel.net.au.

You have completed the setup. Click on Finish.
Configuring SMTP server in Windows Mail
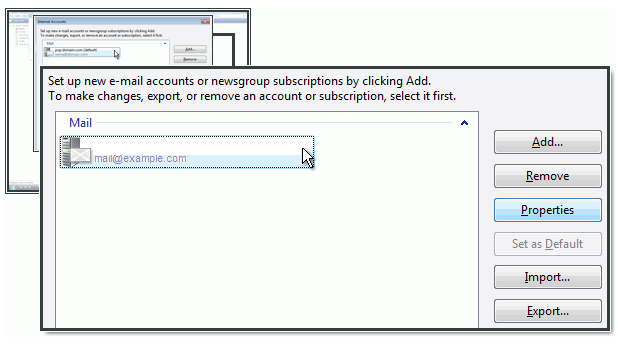
1. Select your newly created account and click on Properties.
2. Select Advanced. In Outgoing mail (SMTP) enter 25 and 110 in Incoming mail.
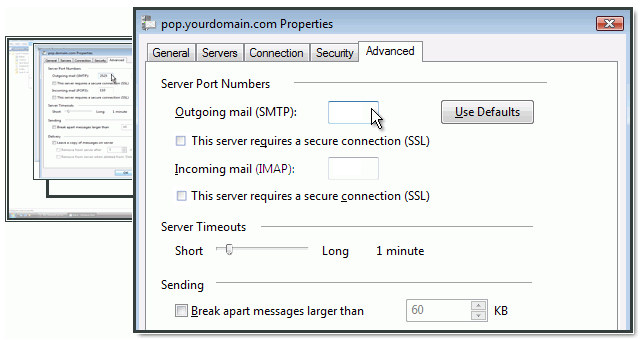
Click on OK.