Setting Up Your SpinTel Ultra WiFi 5G Home Internet Modem
Introducing SpinTel Ultra WiFi 5G Home Internet Modem
Key Features
- 5G Home Modem / Router
- Connectivity options, including Wi-Fi 6 AX6000 / Wi-Fi 7
- Dual 2.5GB Ethernet ports & USB Type C port
- Both LCD & Web-based menus for configuration and device/service information
Faster Speeds
The 5G modem offers next-level connectivity with WiFi speeds that are twice as fast as our previous 5G modem.
Enhanced Reliability
Experience next-level stability and performance with the latest Wi-Fi 7 technology, designed to deliver faster speeds, lower latency, and stronger connections across multiple devices.
For added peace of mind, our 4G network automatically provides a fallback connection if your 5G connection experiences any disruption—ensuring you stay connected at all times.
How it works:
When your device first connects, the latest firmware is automatically pushed to it. This update typically occurs overnight to minimise any impact on your experience. Once the upgrade is complete, your device screen will display Wi-Fi 7, confirming that it’s running on the newest technology.
Greater Connectivity
Connect up to 128 devices effortlessly, manage home security cameras, power smart devices, and stream music across different rooms simultaneously.
Activating Your SpinTel Ultra WiFi 5G Modem
Once you receive your SpinTel 5G Wireless Modem, visit our activation page to activate the service.
What’s Included in Your Ultra WiFi 5G Modem Self-Installation Kit?
In the box, you’ll find:
1 X Optus Ultra WiFi 5G Home Internet modem
1 X Power supply
1 X AC cable
1 X White Ethernet cable
1 X Quick Start Guide
1 X NANO SIM card (pre-inserted)
1 X SIM removal tool
1 X WiFi fridge magnet
1 X Safety instructions
1 X Manufacturer warranty card
Setting Up Your SpinTel Ultra WiFi 5G Modem
Your modem comes with a pre-inserted Nano SIM card and a SIM removal tool. Head on to our activation page to activate the service.
For Existing 5G Home Internet Customers: Dispose of the SIM in your current modem responsibly, as it cannot be used in your new SpinTel Ultra WiFi 5G Home Internet modem.
- Turn the modem to access the SIM slot and place it on a stable surface.
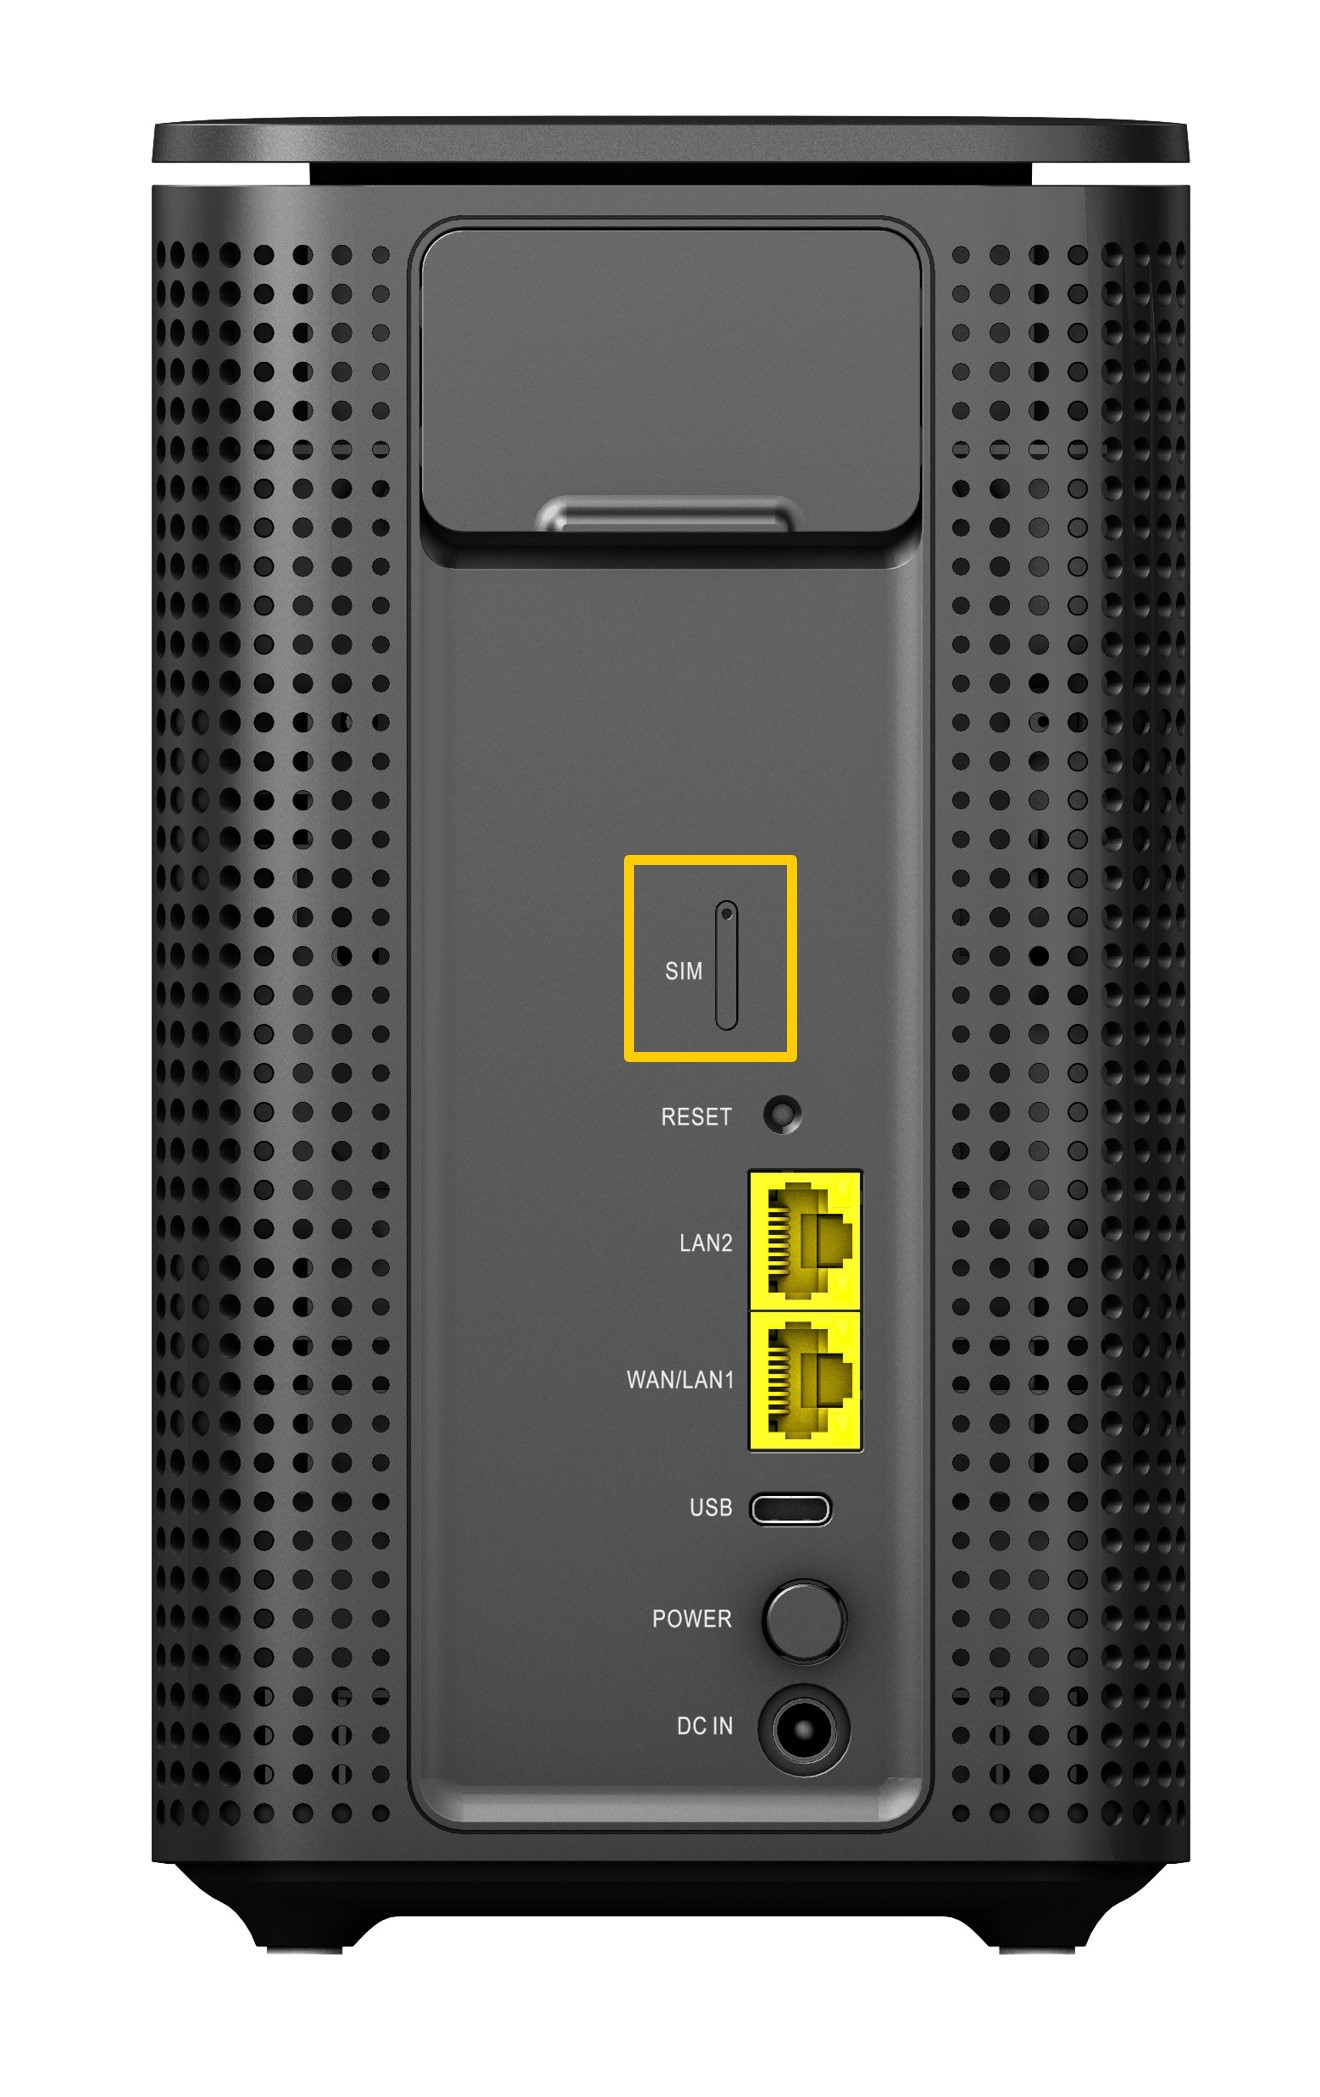
- Use the SIM removal tool to eject the SIM tray.
- Align the Nano SIM with the angled corner of the SIM tray and place it in the tray.
- Slide the SIM tray back into the modem.
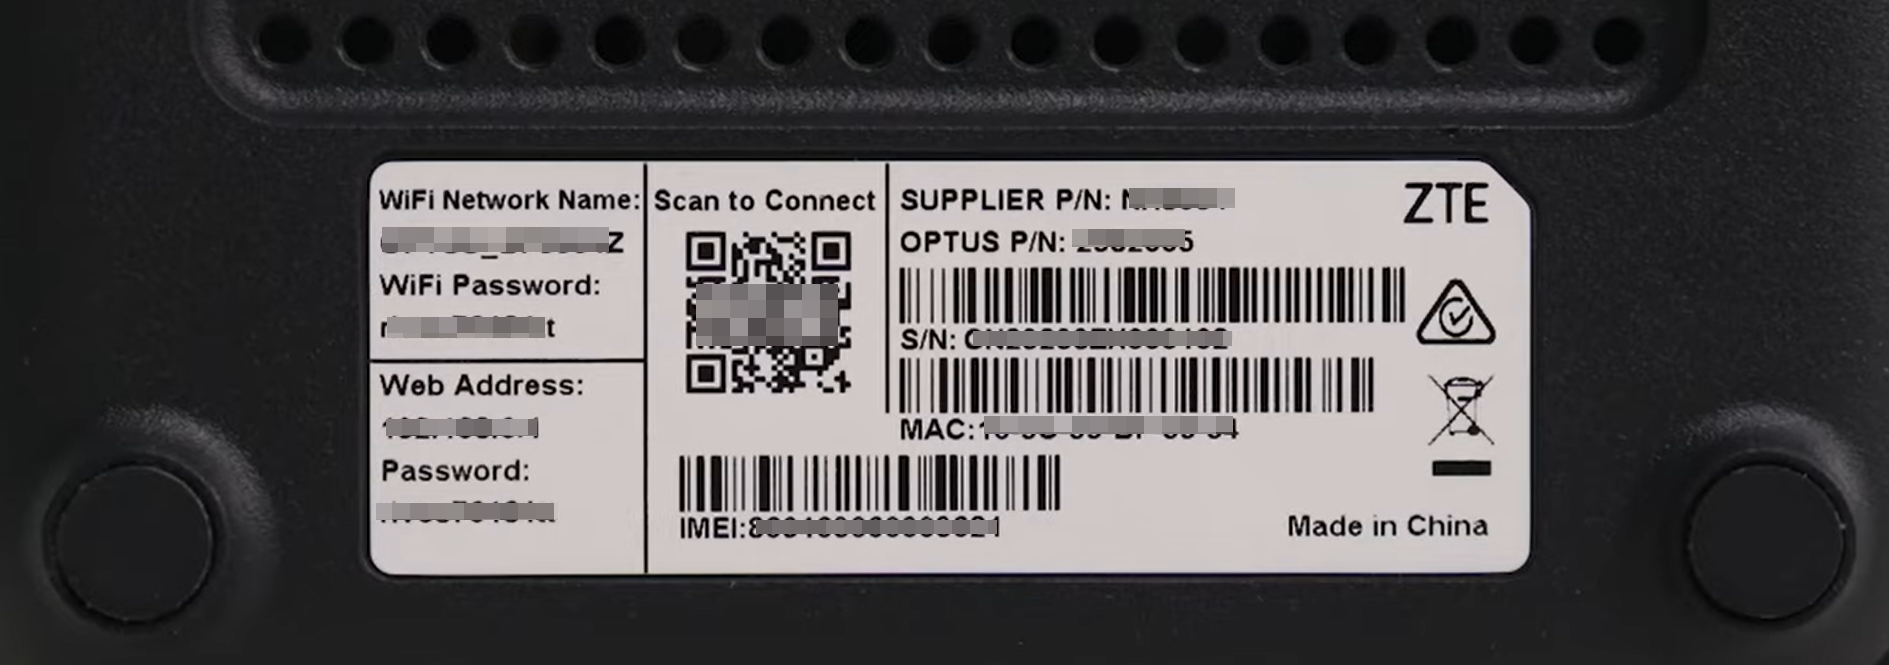
Tip: Take a photo of the sticker on the bottom of your modem with your smartphone for easy reference to WiFi login details.
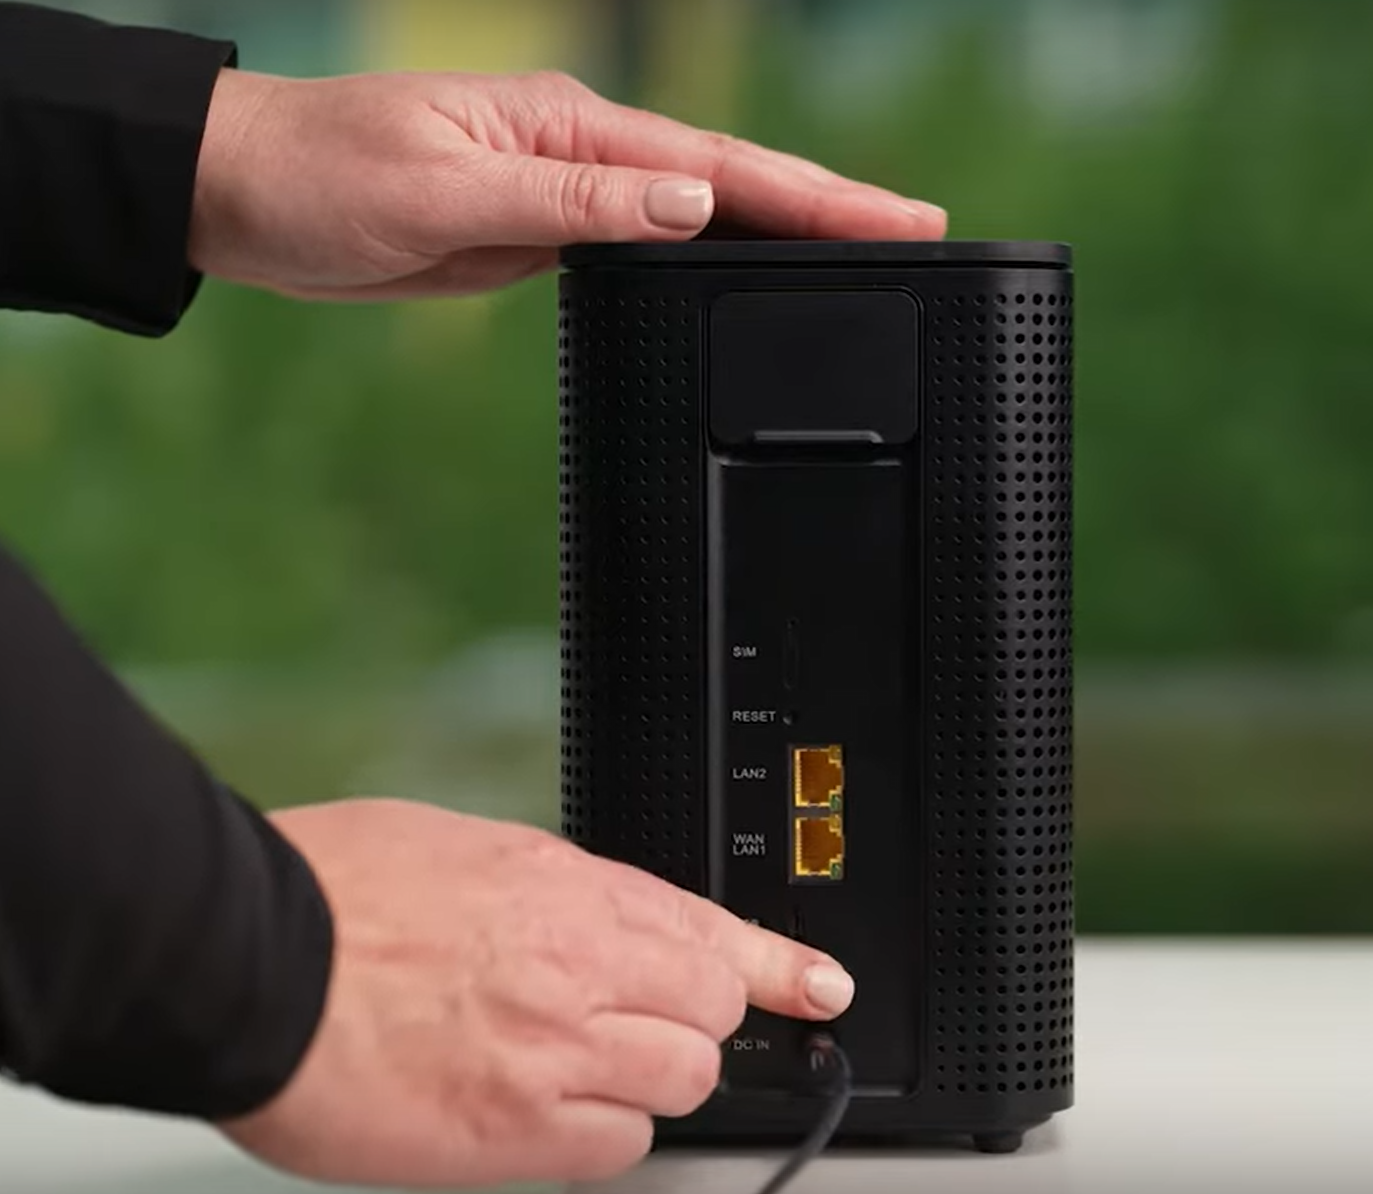
Powering On & Positioning the Modem
- Place the modem near a window with a nearby power outlet.
- Connect one end of the AC power cord to the modem and the other end to the power supply.
- Turn on the modem using the on/off button on the back.
- Wait 30 seconds for the modem to power up. The screen will turn on.
Checking the Status Bars
Your modem may get a better connection in different parts of your home. For best results, place it close to a window. For handy tips, see finding the best 5G signal.
- Position the modem near a window, away from obstructions.
- Connect the power cable to the modem and plug it into a wall outlet.
- The modem will display a ’booting’ message.
- It will search for the nearest Optus 5G tower and configure its internal antenna for optimal signal strength. This may take a few minutes.
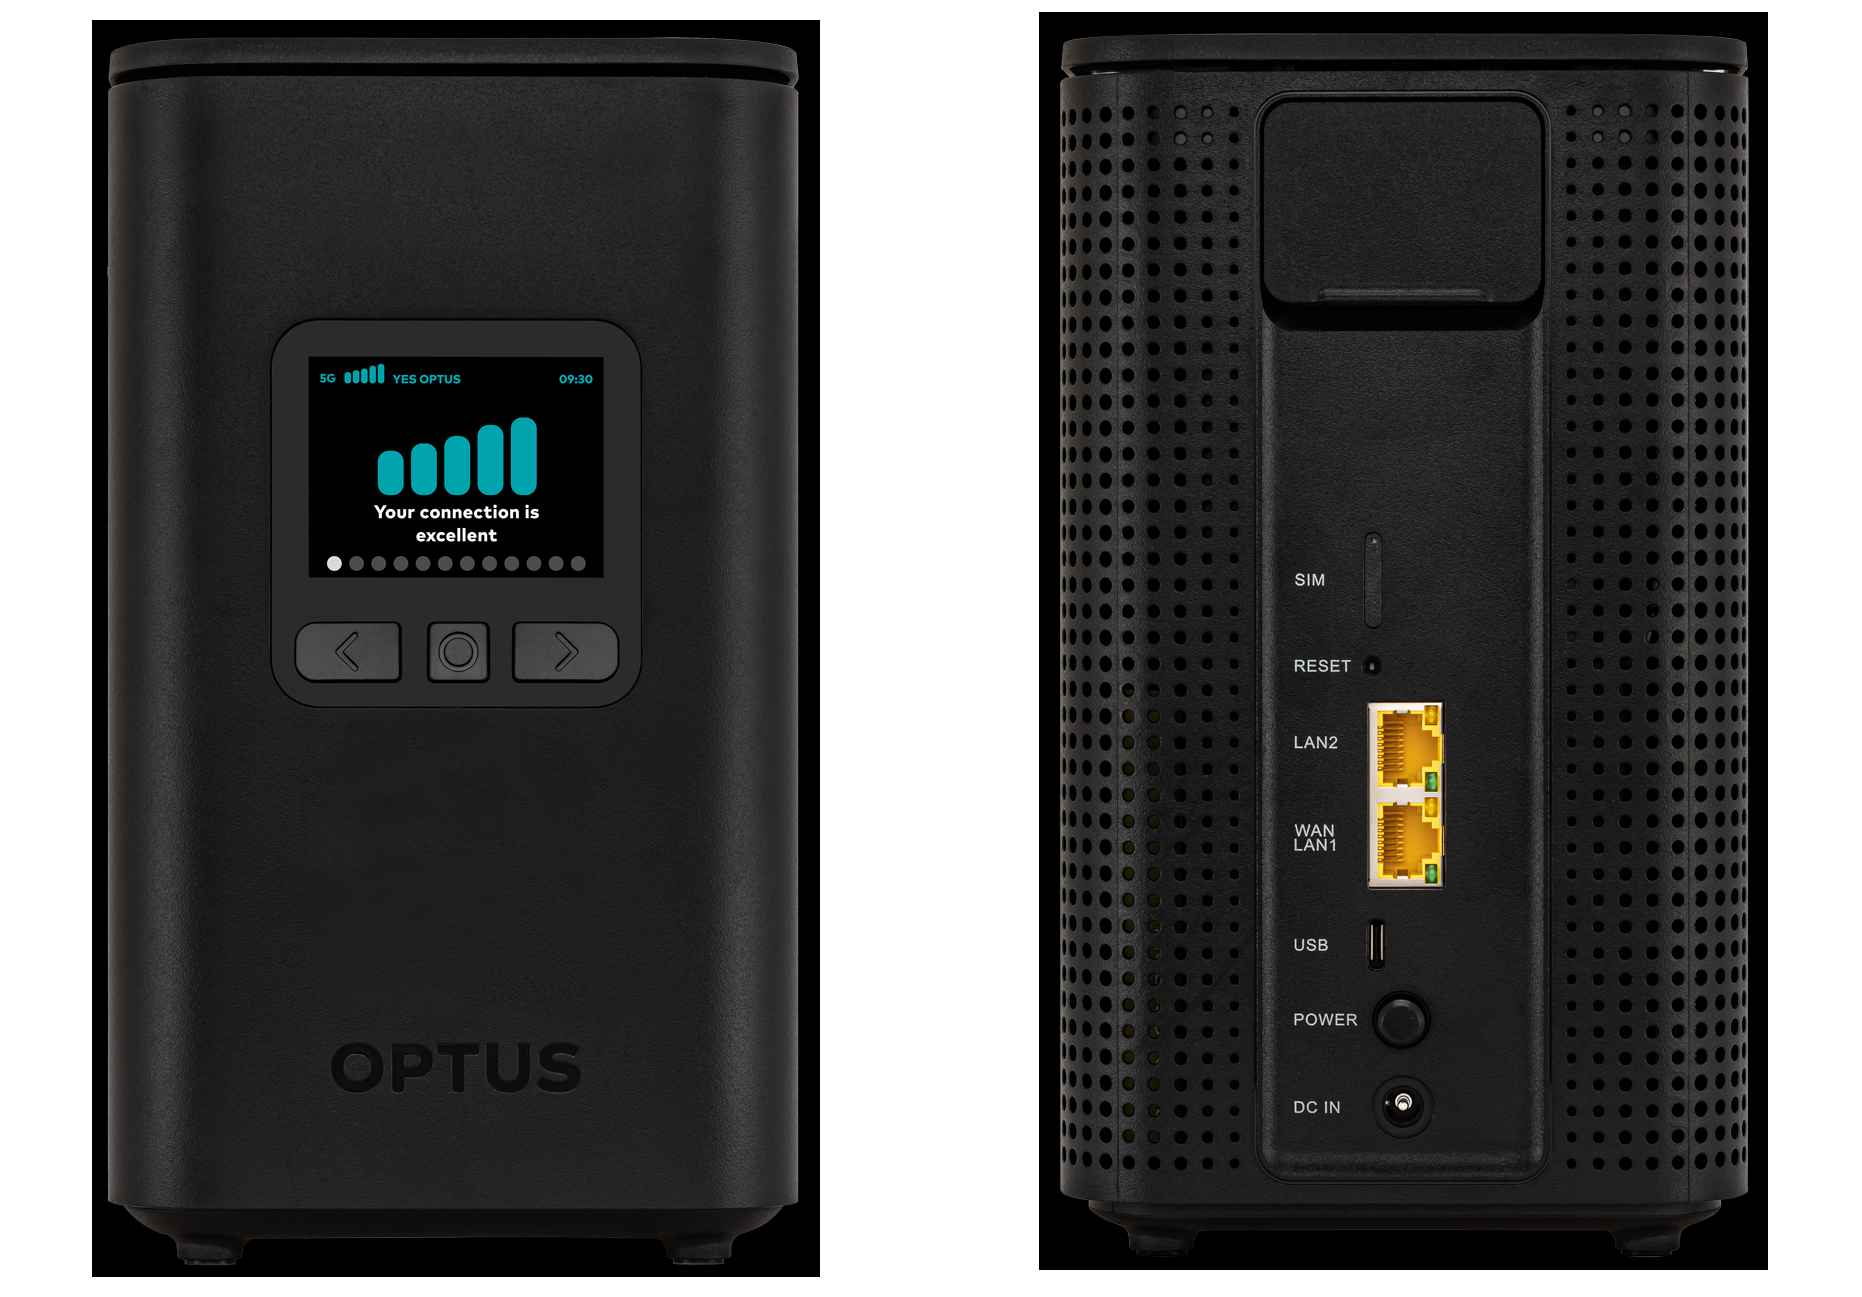
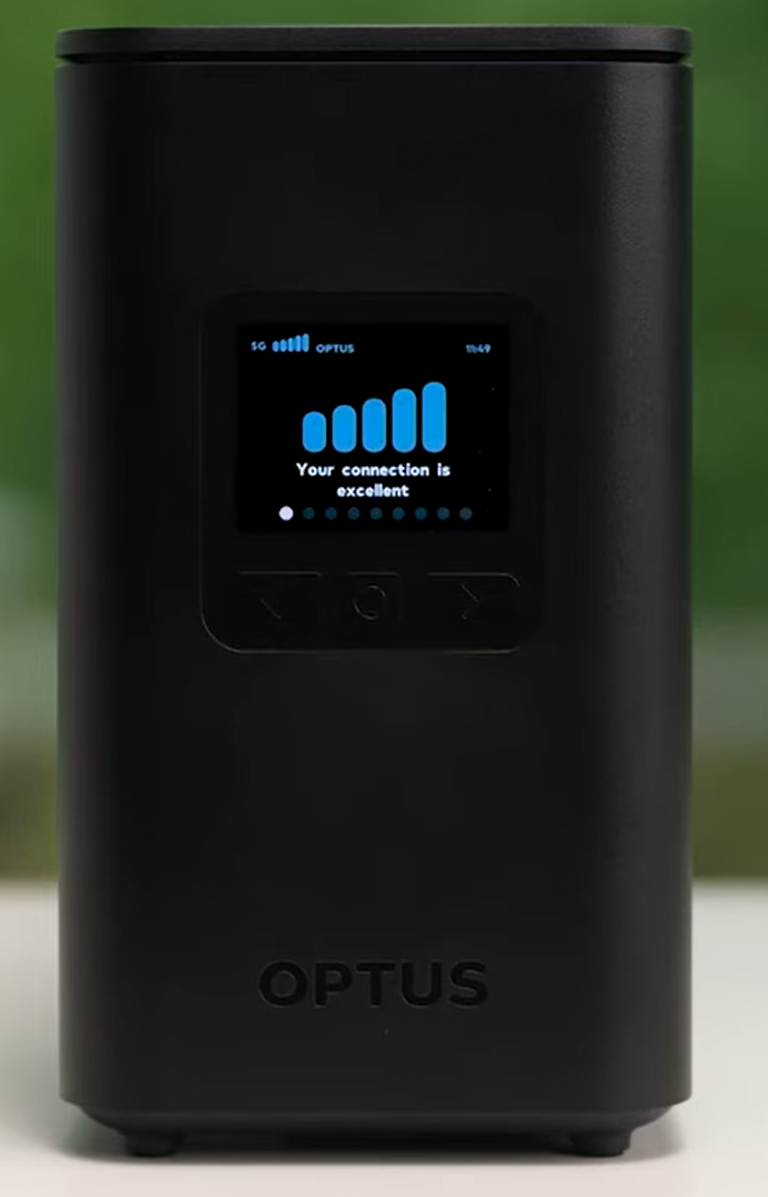
- The screen will show ’Your connection is…’ with bars indicating signal strength.
After connecting, the modem might automatically update its firmware within the first 24 hours, typically overnight to avoid disrupting your internet connection.
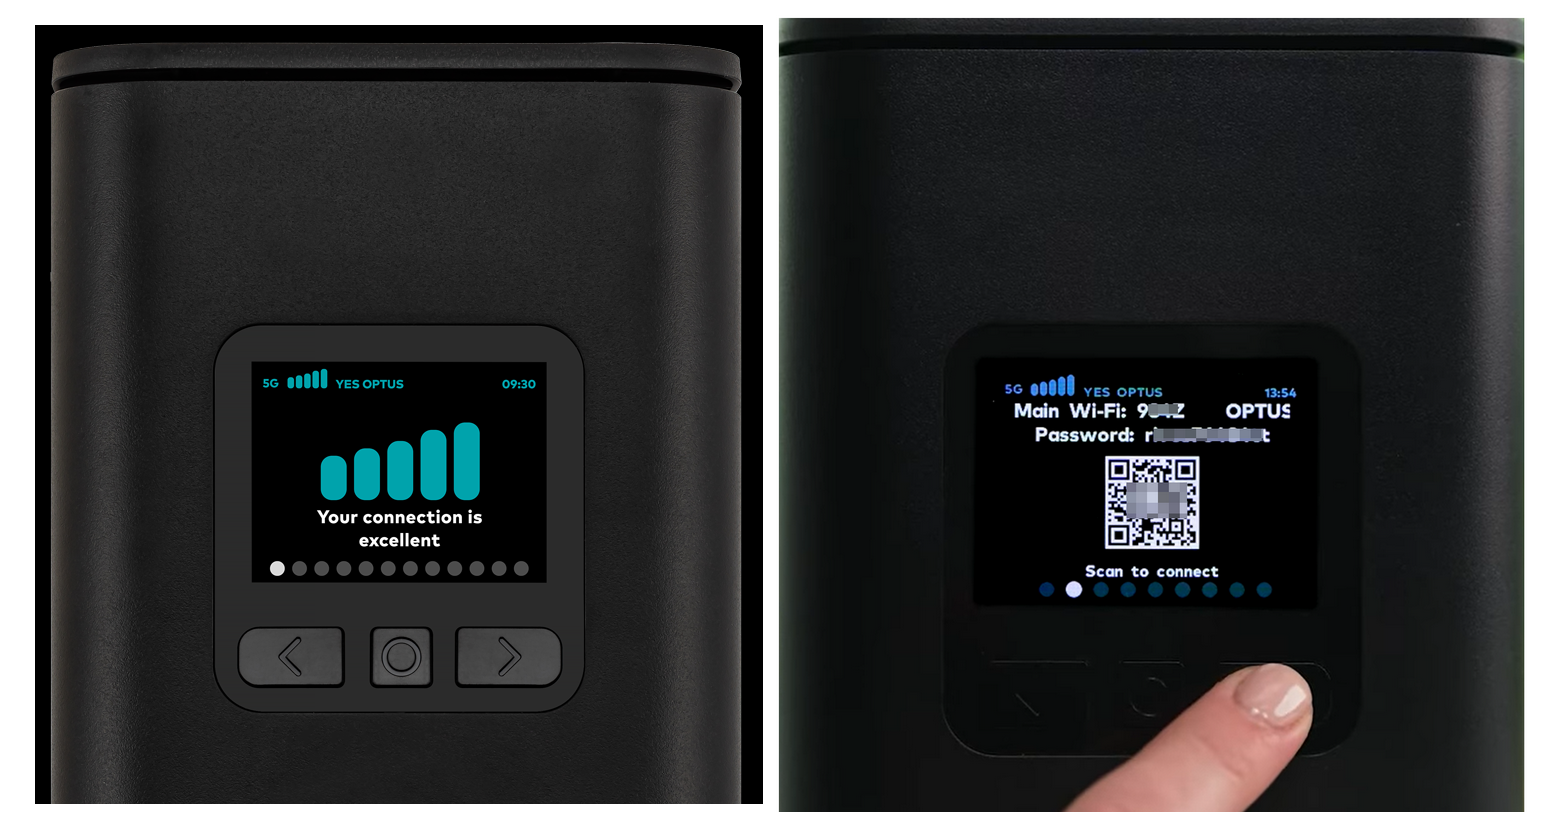
Navigating the Modem Screen
The modem features a color LCD screen with three buttons for easy access to your 5G connection details:
- Mobile signal strength
- Main WiFi Details
- WiFi on/off toggle
- WiFi Protected Setup (WPS) pairing for WPS-compatible devices
- Screen brightness
- WiFi Settings summary
- Mobile settings summary (across two screens)
- Help and support
Finding the Best 5G Signal
- If the signal strength bars show a poor 5G signal or only 4G, try repositioning the modem.
- Slight adjustments and rotating the modem can help improve signal strength. For handy tips, see finding the best 5G signal.
If you cannot receive a 4G or 5G signal, the modem will display ’No Signal’ with empty bars. Please contact us for assistance.
Connecting Your Devices to the Modem
Connecting to WiFi
- Locate your WiFi name (SSID) and password (WiFi key) on the bottom of the modem or navigate through the screen.
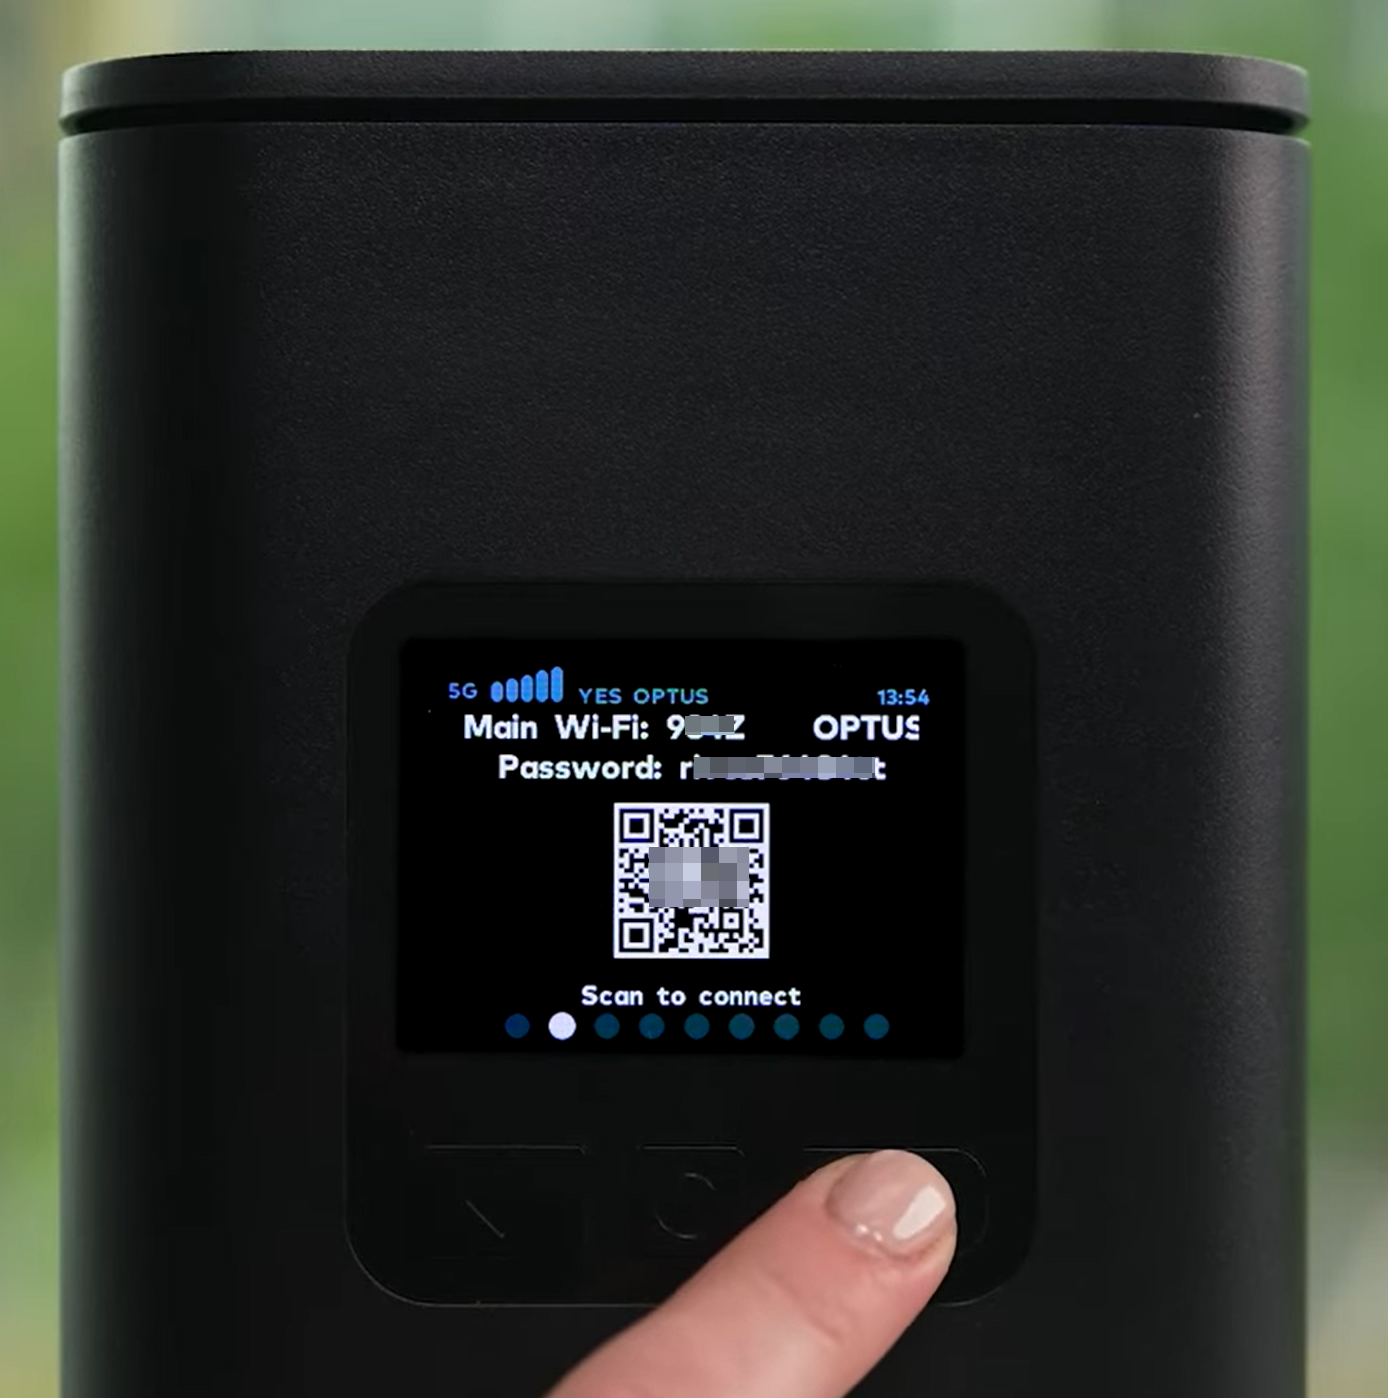
- Select the correct WiFi network from your device’s list of available networks and enter the password to connect.
- To optimize your WiFi experience:
- Place the modem at least one meter off the floor in a central location in your home or office.
- Ensure there is space and ventilation around the modem.
- Avoid placing the modem near large appliances and Bluetooth devices.
Connecting Using an Ethernet Cable
- Connect your devices directly to the modem using the supplied Ethernet cable.
- Plug one end of the Ethernet cable into a LAN port on the modem.
- Plug the other end into your device.

Article ID: 885
Created: July 17, 2024
Last Updated: September 26, 2025
Author: Annive Federicos [annive.federicos@spintel.net.au]
Online URL: https://articles.spintel.net.au/article/setting-up-your-spintel-ultra-wifi-5g-home-internet-modem.html